
Master asset management after discovering and collecting them
In Autobahn, an asset refers to any device or system owned by your organization, identified by its IP address, domain name, or hostname. These identifiers allow Autobahn to uniquely track and manage each asset across your environment.
Assets can be scanned directly using Autobahn’s scanners or imported from external sources via integrations. When scanned, vulnerabilities (issues) are identified and linked to the corresponding asset, along with Workouts - step-by-step remediation guides. For assets imported from other sources, any associated issues are also brought in. Regardless of the source, all issues are consolidated and mapped to the appropriate Workouts, ensuring a unified and actionable view of your security landscape.
You can view and manage all your assets from the Assets page.
Table of contents
- Add assets
- View and customize the Asset table
- Define asset criticality
- Assign assets to the person in charge
- Tag assets
- Delete assets that you want to exclude
- Asset-related automation
1. Adding assets
There are different ways of adding your assets to Autobahn:
- Upload: You can manually upload assets to the Autobahn platform through the Upload function. Usually assets are uploaded during the Asset configuration step as part of the Create scan feature. They can be also added one by one manually via the Upload asset functionality.
- Integrate: Collect asset data from various providers seamlessly through the Integrations function. Visit the Integrations guide page to see a list of applications that can be integrated.
2. View and customize the Asset table
The Asset table shows a list of all your devices and related details.
- Asset: This is the name of the host.
- IPs: This is a unique identifier assigned to each device on your network.
- Hostnames: This is the user-friendly website address instead of the numerical IP address.
- Network: Denotes in which network the asset is found. This can be Internet for external assets, Default Internal if your internal network isn't segmented, or a specific network name it it's segmented (e.g. Lab)
- Source: Where the asset has been found (i.e. manual upload, cloud integration, or discovery)
- Last scanned: The last time the asset was scanned.
- Criticality: You can rate how important each device is to your operations (Critical, Substantial, Moderate).
- Assignee: Select the asset owner who'll be responsible for remediating issues affecting these assets (this assignment will be transferred to issues living on this asset and relevant Workouts).
- Tags: Add labels to categorize your devices by location, department, function, etc. This helps you filter and find assets easily as well as create custom dashboards for more granular view.
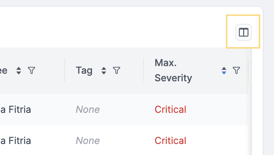
- Max. Severity: Reflects the maximum severity of issues found on this asset.
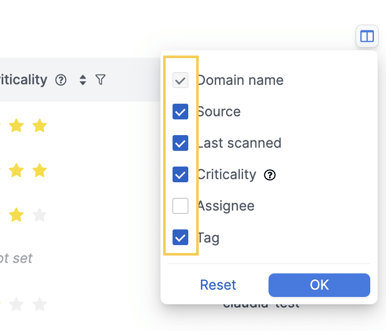
To customize the table click the Column View button on top of the table.
By default all table columns are displayed. If you want to remove one of the columns, use the checkbox and click OK to save your selection. The changes will only be visible for you.
3. Define asset criticality
Classify assets based on what your organization deems critical, so you know which assets to prioritize when remediating your issues.
The criticality level will not affect the organization’s Hackability Score calculation.
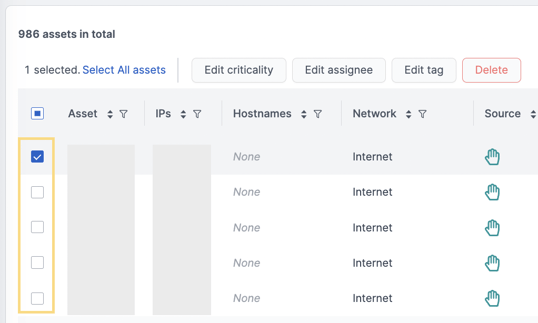
1 - Select the checkboxes on the left side of the page. You can select all assets displayed on the page by ticking the first checkbox.
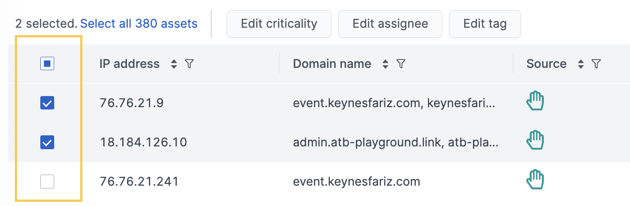
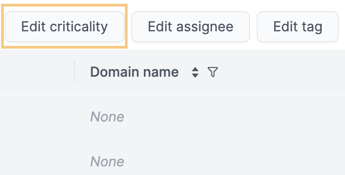
2 - Once selected, several action buttons will appear on the top of the table. Click the Edit Criticality button. An Edit Criticality drawer will appear.
3 - Select the Criticality level on the drawer.
-png.png?width=340&height=292&name=Screen%20Shot%202022-11-16%20at%2013-34-03%20(1)-png.png)
4 - Click on Clear All to remove all the changes.
5 - Click on Apply to apply the changes.
4. Assign assets to the person in charge
We understand the importance of ownership. To streamline your remediation process, you can assign assets to the person responsible for managing them.
When a user is assigned to an asset, they will also be assigned to all related issues. Additionally, any new issues that arise in the future will automatically be assigned to the designated asset assignees. The assignment to relevant Workouts will also follow.
1 - Select assets that should be assigned by ticking the checkbox on the left of the table.
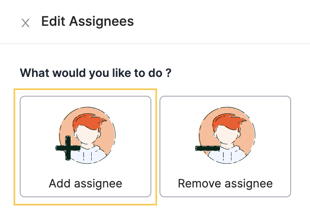
2 - Click the Edit Assignee button. A drawer will appear.
3 - Select assignees by clicking the Add Assignee or Remove Assignee button. A field consisting of a list of users within the organization will appear.
4 - Click on the Assignee dropdown and select the assignees from the list. You can select multiple assignees.
5 - Click on Apply to apply the changes. The edit assignee drawer will be closed. The changes will be reflected in the Asset table.
5. Tag assets
In Autobahn, asset tags function as a critical organizational tool for managing your device inventory. Assigning relevant tags to your assets allows for:
- Enhanced searchability: Categorize devices by department, location, function (e.g., technology type), or criticality. This facilitates efficient filtering and retrieval of specific asset groups.
- Targeted reporting: Leverage tags to tailor reports to your specific needs. Generate custom dashboards focusing on critical assets in a particular location, or those within a designated technology category.
Tags are fully customizable, so you can adapt them to your organizational structure.
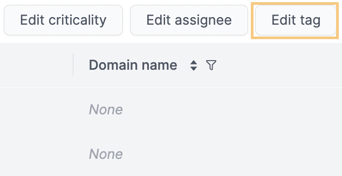
1 - After you select the assets, click on Edit Tag.
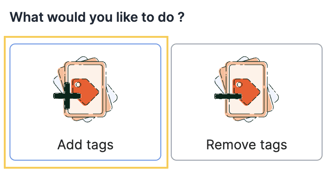
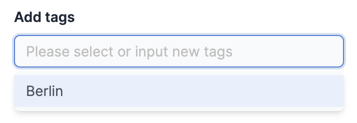
2 - Click the Add Tags or Remove tags button on the drawer. A field to select or input new tags will appear.
3 - Click the Add tags or Remove tags dropdown. Select the tag from the list or input new tags in the field.
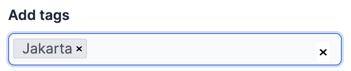
4 - The selected tags will be shown on the field. Click the “x” button next to the tags to cancel the action.
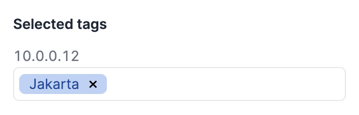
5 - The selected tags will appear on the selected assets fields. You can exclude the tag from specific assets by clicking the “x” button next to the tag.
6 - Click on Apply to apply the changes. The edit tags drawer will be closed. The changes will be reflected instantly in the Asset table.
6. Delete assets that you want to exclude
If any assets do not belong to your organization or are no longer important, you can delete them from your asset inventory. To delete these assets:
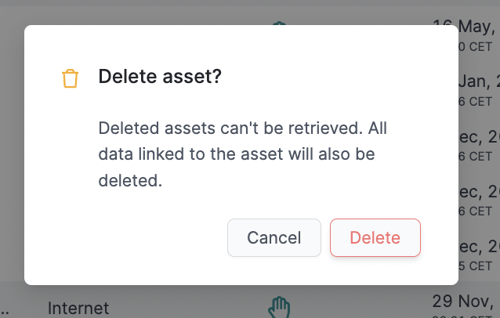
1 - Select assets you want to delete by ticking the checkbox on the left side of the asset, then click the Delete button on top of the table.
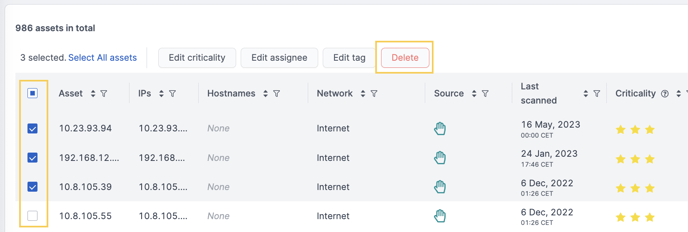
2 - A confirmation box will appear. Click the Delete button in the confirmation box.
Removing assets will also result in the removal of any related issues, which may affect your organization's Hackability Score.
7. Asset-related automation
Organization Owners and Admins can configure automated asset deletion to keep your Autobahn environment clean, current, and focused on relevant technologies. This helps ensure that outdated or retired assets are automatically removed, allowing the platform to reflect the true state of your technological landscape.
To set up this automation, go to Settings > Features and define the time frame. Assets older than the selected period will be automatically deleted - along with their associated issues.

This feature is disabled by default. For optimal results, we recommend setting the automated deletion timeframe to remove assets older than 3 months.
Please note that the changes made to this setting will take effect the following day.