
Gain actionable insights on findings from external sources through Autobahn's re-prioritization and consolidation mechanics
Table of content
1. Benefits of importing external results
Companies employ a variety of tools for their vulnerability management. Reviewing data across these diverse tools can be time-consuming. As a solution, you can import external results, such as those from penetration tests or red team exercises into Autobahn.
The imported data will then get the vulnerabilities prioritized according to severity. You can also see remediation guidelines for the imported vulnerabilities.
This feature is available from the Scanning page - click the Upload button on the top right of this view and it will open the drawer that will include the history of the previously uploaded files when applicable:

Press the Import file button and you'll be presented with the possible data sources as described below.
2. Available data sources
Currently, Autobahn can process data from five different sources:
- Invicti
-
Nessus Professional
- Qualys
- Qualys Cloud Agents
- Manual Assurance Findings
The last category is intended for data originating from penetration tests or red teaming exercises. Autobahn provides a template for this purpose, which includes both mandatory and optional fields. The mandatory ones include:
- Finding description
- Severity
- IP address
- Protocol
- Port
- Service
3. Import results
On the Import file page, in addition to the dropdown menu for selecting a data source, there are two options for importing data:
- New: The imported file will be treated as a new scan and will appear as such on the Scanning page.
- Existing: The imported file will be added as a new revision to an existing scan.
Please note the data size limits for uploads:
- Invicti and Nessus: 30 MB
- Qualys: 100 MB
- Qualys Cloud Agents: 10 MB
- Manual Assurance Findings: 4 MB
If you need to upload a larger file, or come across any issues during the upload, please contact support@autobahn-security.com for assistance.
New import
Whether you choose to start a new scan or update an existing one depends on your preferences and the scan structure you want to maintain. This structure can later be used to create custom dashboards based on scans.
When creating a new scan, you’ll need to select the network and define a scan name. You can also optionally add a description and assign team members.
Network selection is important because Autobahn applies different weighting when prioritizing findings from external versus internal sources. In general, external findings are considered more critical, as they reflect a perspective closer to that of a potential attacker.
For Qualys Cloud Agents, the only available network option is internal, since these agents are deployed directly to machines within your internal environment.
After uploading the file, a preview will be displayed so you can verify that the correct file has been selected.
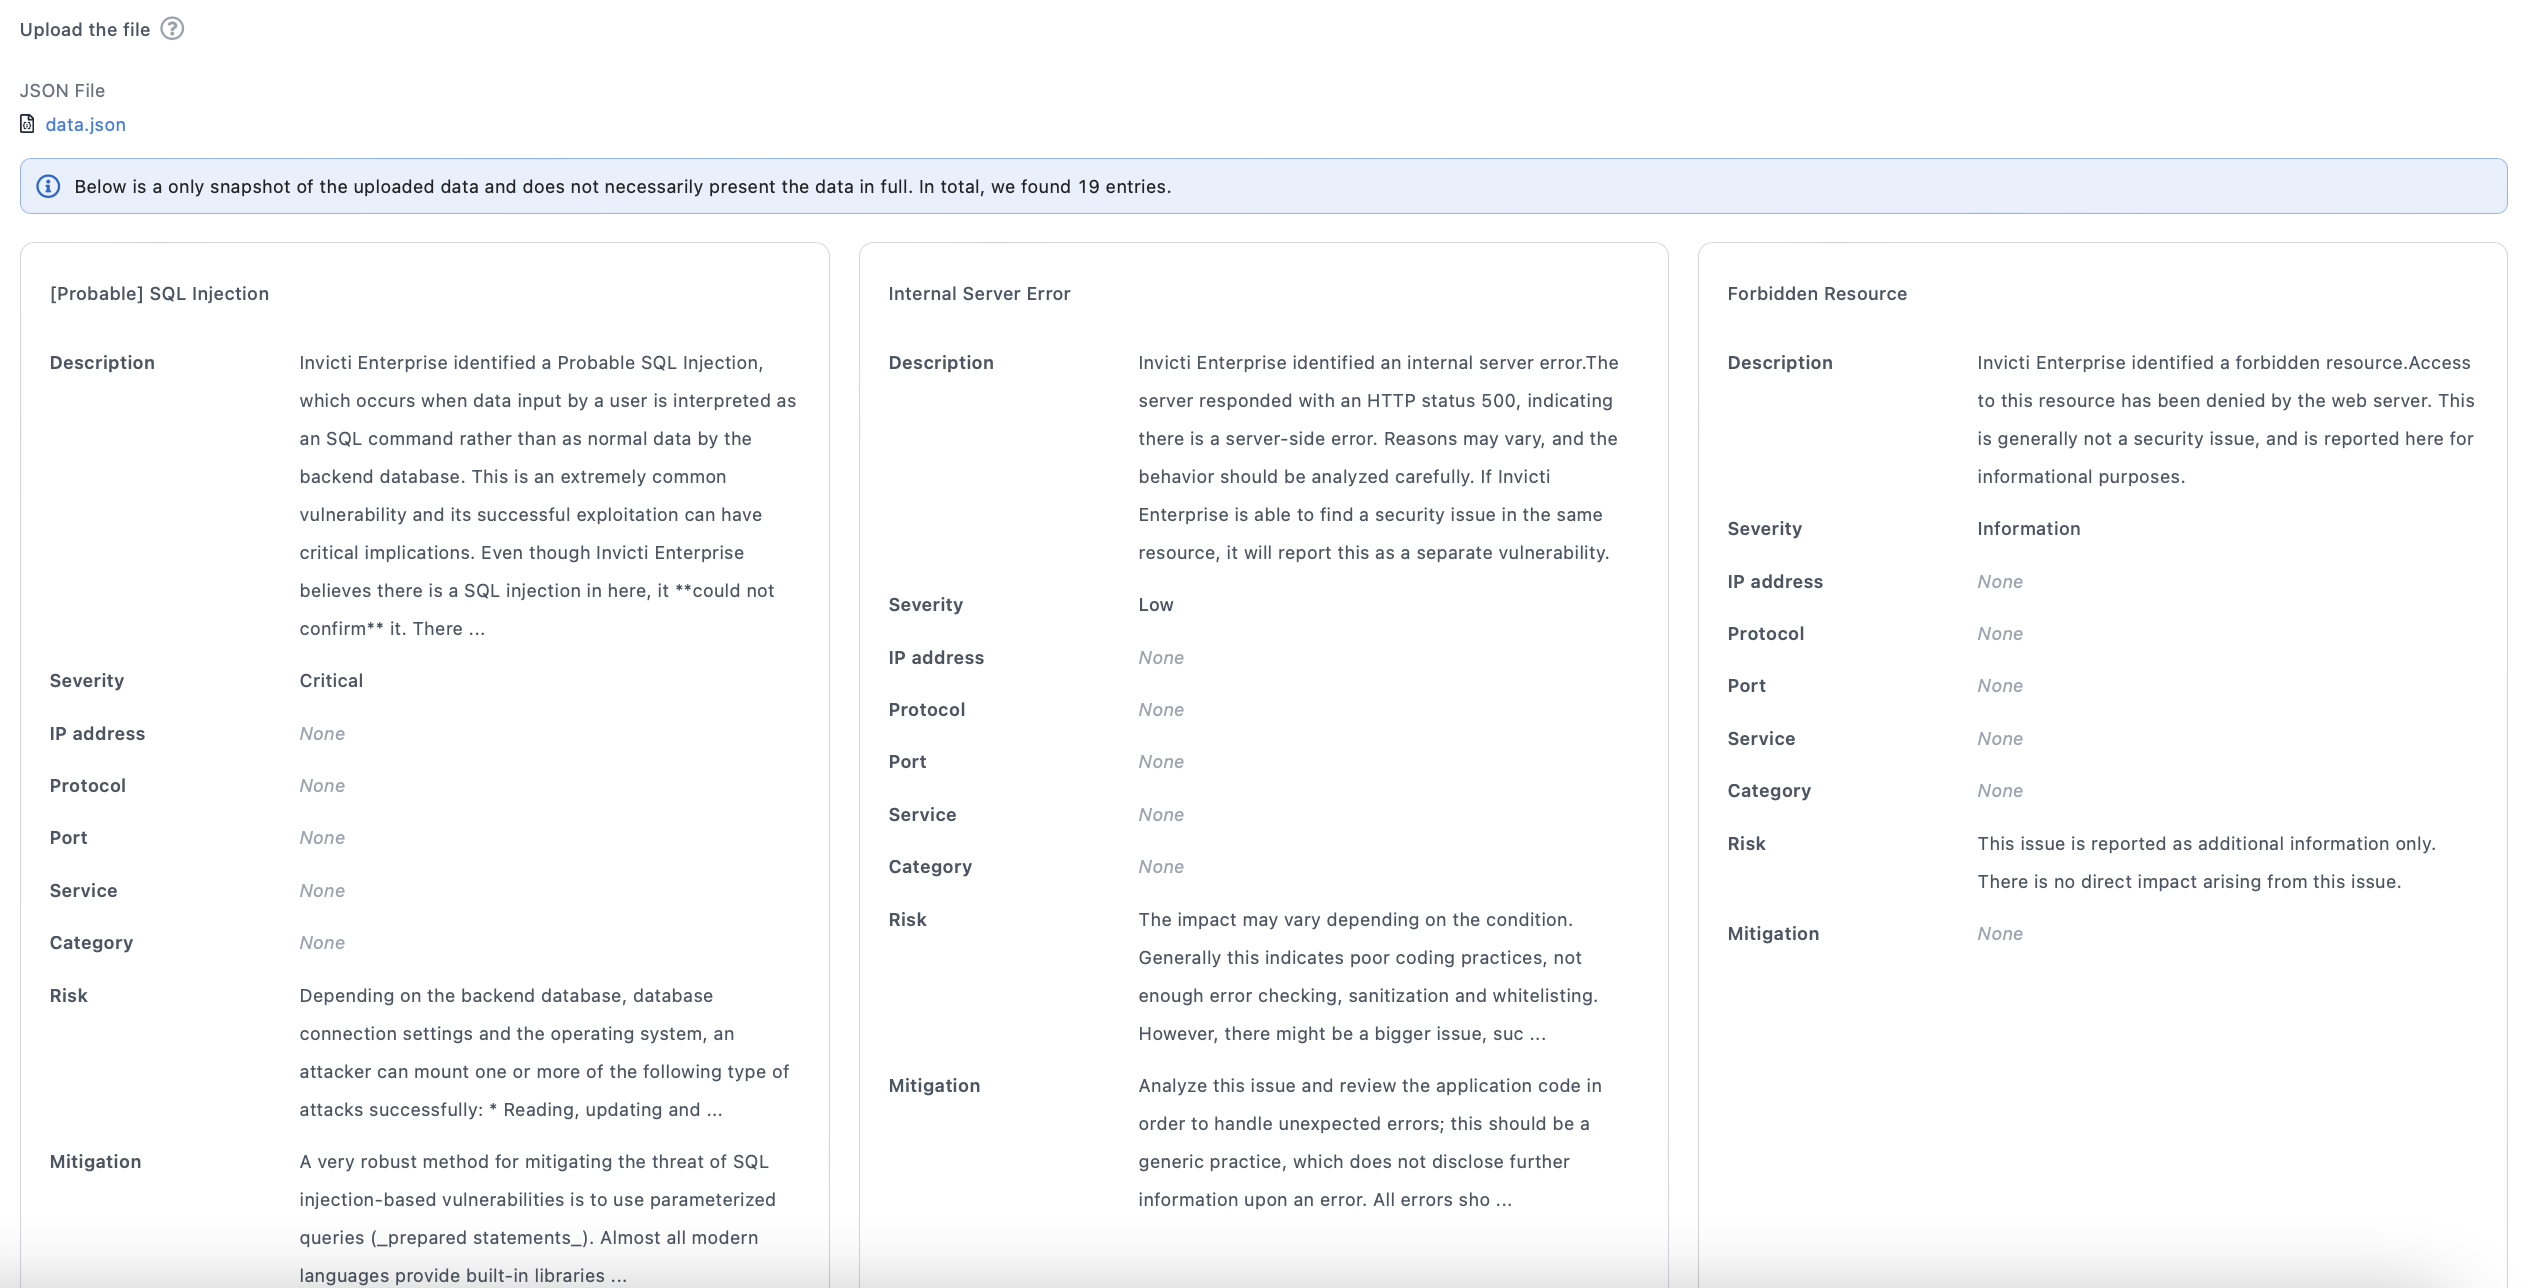
After reviewing the content, click the Import button to proceed - it may take a while until your new scan will appear in the Scanning page (All scans table) as a Running scan.
Existing import
If you want to import a file as a revision of an existing scan, select Existing as the import type and choose the scan you want to update. Then, upload the file from the corresponding data source.
As with new imports, a preview will be displayed so you can double-check the data. If everything looks correct, click Import and wait for the data to be processed. A new revision of the selected scan will be created and marked as Running.
4. View imported data
It may take several hours to import the data which depends on the amount of it in the uploaded file.
Upon completion, you will be able to access the Scan Report detailed view from the Scanning page as described here.