This tutorial describes how to use Autobahn Security integration with Jira
Jira is a project management tool that assists teams in tracking issues, organizing projects, and promoting collaboration. Connect Autobahn with Jira to effortlessly generate tickets from Autobahn Security Workouts. This integration streamlines the process of addressing vulnerabilities effectively.
Table of content
1. Navigate to the Jira integration page
1 - Login to your Autobahn Security account here.
2 - Navigate to the integration page by clicking the Integrations button on the sidebar.

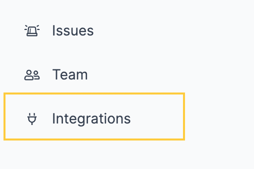
3 - Click the Configure button at the Jira Software tile.
2. Add Jira credentials
The first page you see on the Jira Integration page is the Jira credentials tab. You need to add your credentials to enable the integration.
1 - Click the Select Jira system dropdown and select the account type.

2 - Input your Jira URL server in the Jira server field.
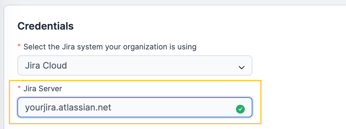

Make sure you don't add any / in the url
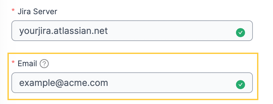
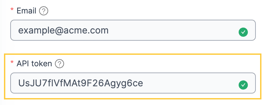
3 - Input the email used for the Jira account you will use for this integration in the Email field. You can consider making a new account, or using an already existing one.

4 - Input your API token in the API token field.
You can create a Jira API token following these instructions: https://id.atlassian.com/manage/api-tokens.

5 - After you fill in all fields, save the credentials by clicking the Test connection and save button.
6 - If you made a mistake, you'll need to reset all the fields by clicking the Reset button.
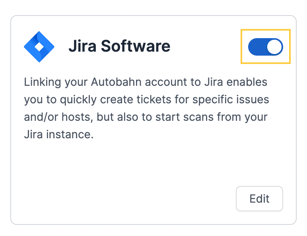
3. Enable or disable integration
After you've integrated your Jira account, you can enable or disable the integration by:
1 - Navigating to the Integrations page.
2 - Toggling the toggle on the top right of the Jira Software tile to off (to the left).